![]()
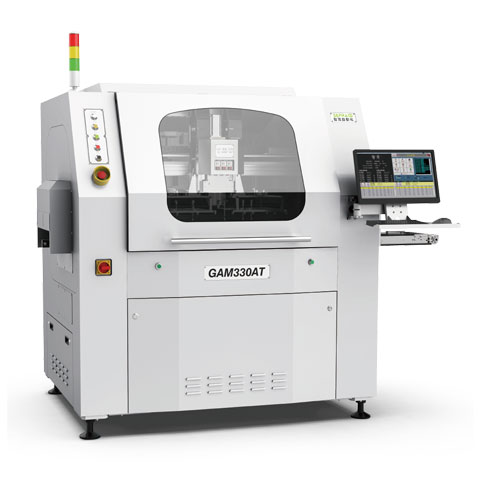
cnc pcb router machine
Revolutionizing PCB Prototyping with Desktop CNC Machines
Are you tired of waiting weeks for PCB prototypes or dealing with high outsourcing costs? Desktop CNC machines are transforming the way we approach printed circuit board (PCB) prototyping, making it faster, cheaper, and more accessible than ever before.
Why Choose a CNC Mill for Your PCB Projects?
The advent of cheap CNC technology has empowered hobbyists and professionals alike to create PCBs in-house. With a desktop CNC mill, you can:
- Accelerate Prototyping: Rapidly iterate designs without long lead times.
- Reduce Costs: Eliminate expenses associated with third-party manufacturers.
- Enhance Precision: Achieve high-quality results with meticulous detail.
What Is a Desktop CNC Machine and How Does It Work?
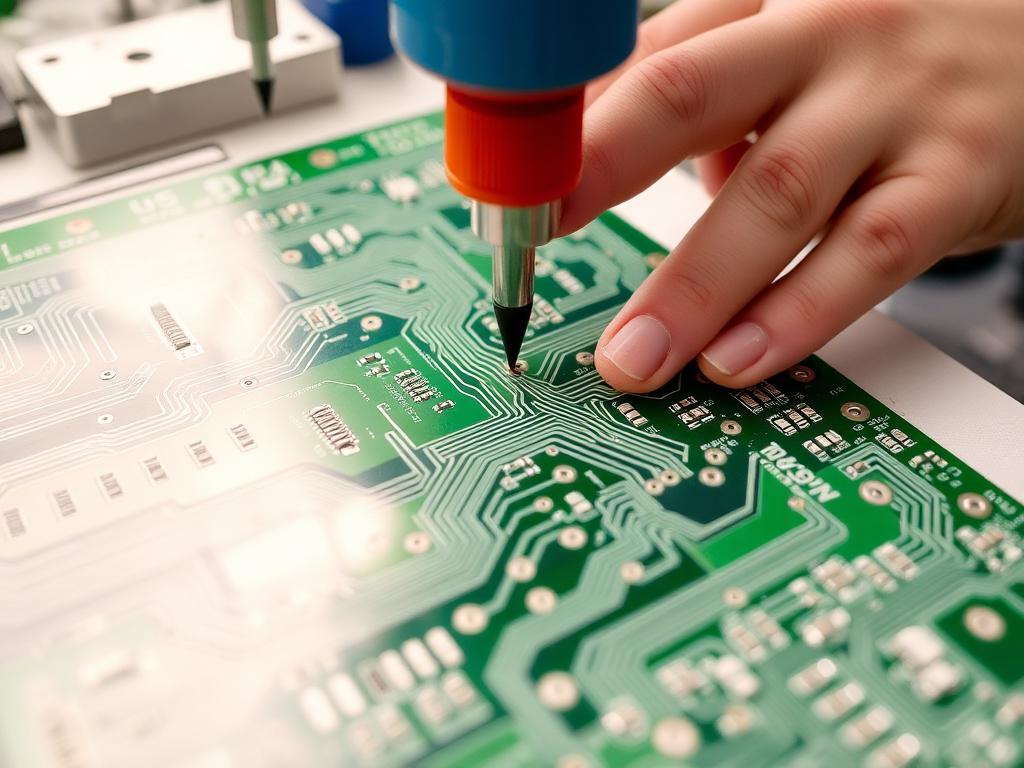
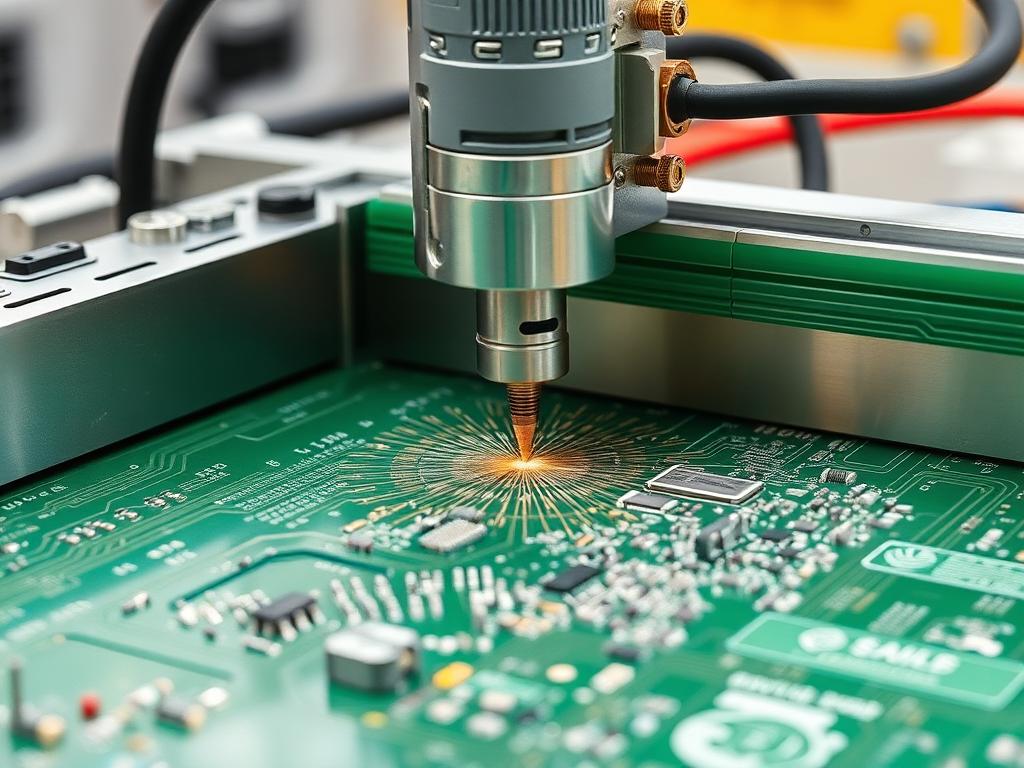
A desktop CNC machine is a compact milling device controlled by computer software. It precisely removes material from a copper-clad board to create intricate circuit board designs. Key components include:
- Spindle: The rotating cutting tool that mills the PCB.
- Controller: Often running GRBL, it interprets G-code files to guide the machine.
- CNC Bits: Specialized tools like V-shaped engraving bits for fine details.
How to Prepare Your PCB Design: From Schematic to Gerber Files
Before milling, you need a digital design:
- Create the Schematic: Use software like KiCad or Eagle.
- Layout the PCB: Arrange components and routes on the PCB board.
- Generate Gerber Files: Export your design into Gerber files for manufacturing.
- Convert to G-code: Use a program like FlatCAM to create G-code files.
Setting Up Your CNC Router Machine for PCB Milling
Proper setup is crucial for success:
- Secure the Workpiece: Attach the copper-clad board to the spoil board using double-sided tape.
- Install the Right Bit: A 0.15mm V-shaped bit is ideal for trace isolation.
- Calibrate the Z-Axis: Set the Z-axis zero point to account for the thickness of your board.
How to Drill and Mill PCBs Using G-code
Follow these steps:
- Load the G-code File: Transfer the file to your CNC machine’s controller.
- Drill Holes First: Use a drill bit to create holes for components.
- Mill the Traces: Switch to a milling bit to engrave the circuit paths.
- Cut Out the Board: Finally, use a cutting bit to edge cut the PCB from the larger board.
Tips for Engraving Fine Details on Printed Circuit Boards
Achieve precision with these tips:
- Adjust Spindle Speed: Optimal speeds prevent material burn and bit wear.
- Set Feed Rates Carefully: Balance speed to maintain control without overloading the bit.
- Use Proper Bits: V-shaped engraving bits allow for fine detail work.
How to Achieve Double-Sided PCB Milling
For double-sided PCBs:
- Align Perfectly: Use pin headers or alignment holes to flip the board accurately.
- Mirror the Design: Ensure the bottom layer is mirrored in your software.
- Check Calibration: Even slight misalignments can cause circuit errors.
Troubleshooting Common Issues with CNC PCB Milling
Common problems include:
- Uneven Milling Depth: Check for a level spoil board and consistent Z-axis calibration.
- Broken Bits: Reduce feed rates or check for material hardness.
- Inaccurate Drilling: Verify G-code accuracy and machine calibration.
Soldering and Assembly: From Milled PCB to Functional Circuit
After milling:
- Clean the Board: Remove debris to ensure good solder connections.
- Apply Solder Mask: Protects against short circuits and corrosion.
- Solder Components: Begin with SMD parts using a reflow process or air gun.
FAQs
Q: Can I use a cheap CNC machine for PCB milling?
A: Absolutely! Many enthusiasts use affordable machines like the 3018 CNC router to successfully mill PCBs.
Q: What software do I need to generate G-code files?
A: Programs like FlatCAM convert Gerber files into G-code files compatible with your CNC machine.
Q: How do I handle double-sided PCB milling?
A: Use alignment pins or double-sided tape to ensure both sides match up precisely.
Q: Is milling better than etching for PCB prototyping?
A: Milling PCBs avoids harmful chemicals used in etching and allows for quicker iterations.
Q: What materials do I need to get started?
A: You’ll need a desktop CNC machine, copper-clad boards, CNC bits, and PCB design software.
Conclusion
Embracing desktop CNC machines for PCB prototyping empowers you to innovate faster and more efficiently. With the right tools and techniques, you can produce professional-quality printed circuit boards from the comfort of your workspace.
Key Takeaways:
- Desktop CNC mills revolutionize PCB prototyping by reducing time and cost.
- Proper setup and calibration are essential for successful milling.
- In-house PCB production allows for rapid innovation and iteration.
Internal Resources:
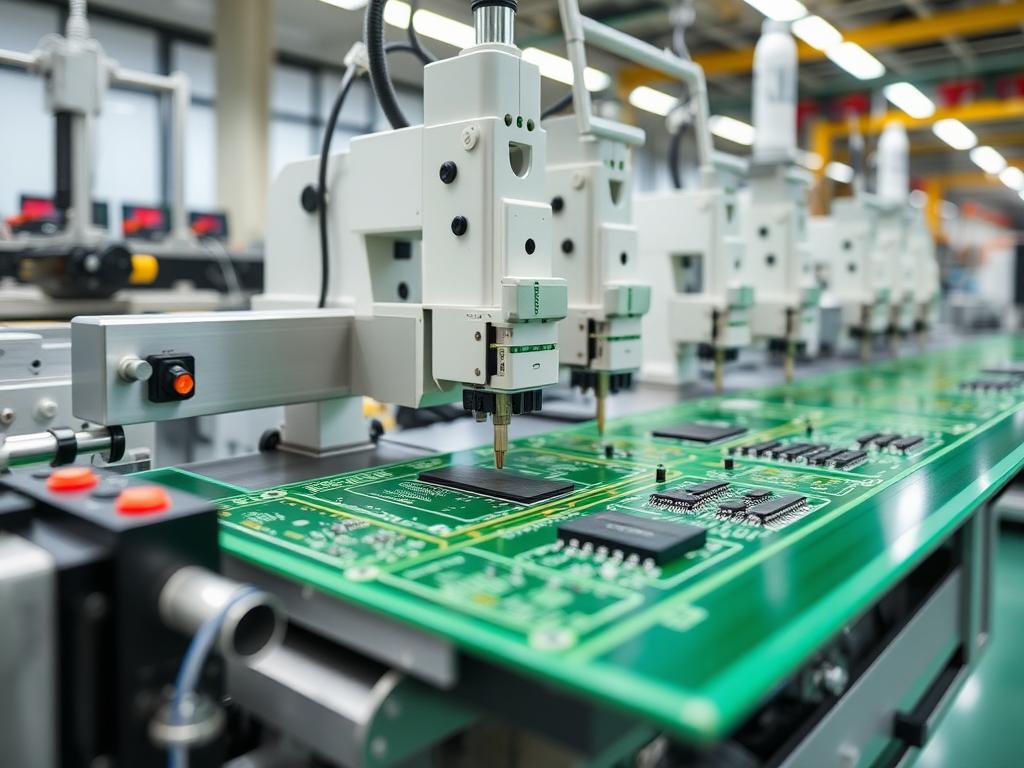
- Upgrade your milling experience with our GAM 330AT In-Line Automatic PCB Router Machine.
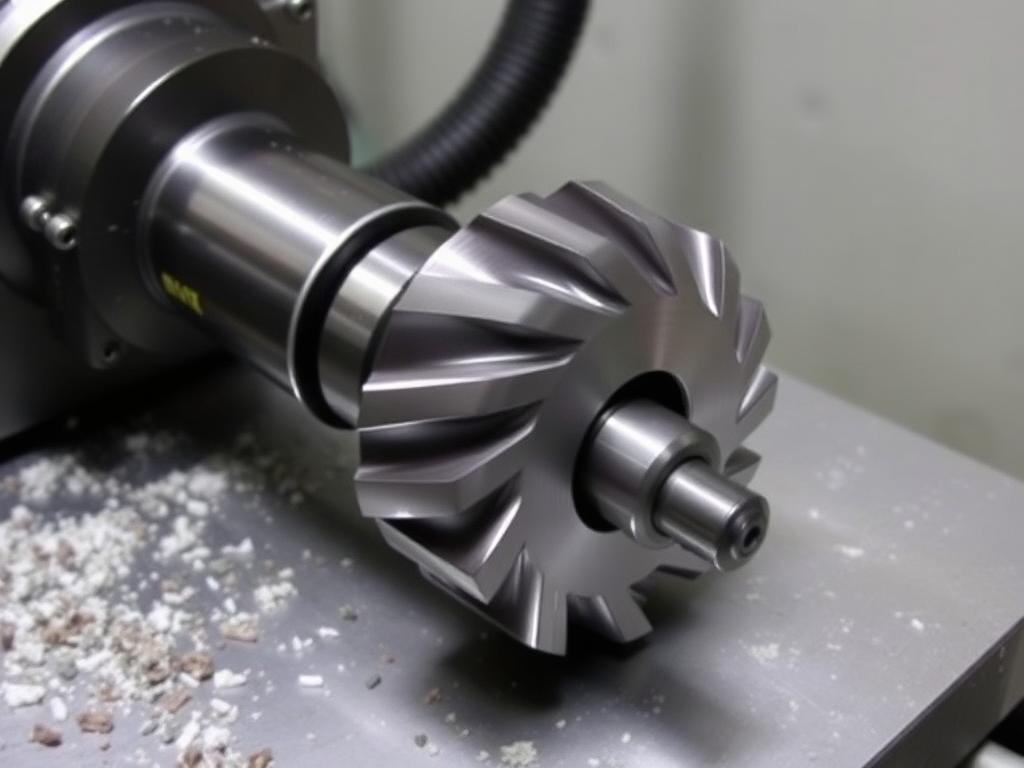
- Enhance precision with Milling Cutters designed for PCB fabrication.
- Explore the ZM30 PCB Round Blade V-CUT Separator for efficient depaneling.
- Automate your workflow with the Router Machine & Robotic Arm & Automatic Plate Setting Machine.
- Discover our GAM330D Automatic PCBA Depaneling system for high-volume production.
Ready to revolutionize your PCB prototyping process? Contact us today to find the perfect CNC solution for your needs!
Summary:
- Desktop CNC machines make PCB prototyping accessible.
- Proper preparation and calibration are key.
- In-house production accelerates development cycles.
- Our products offer advanced solutions for all your PCB needs.
